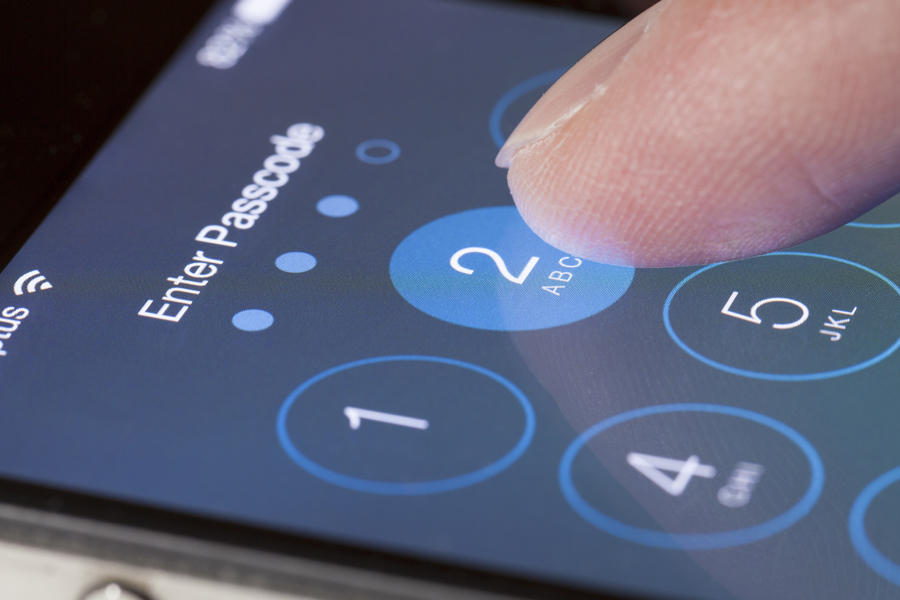
Disabling your iPhone and locking yourself out can be an easy thing to do. Whether you have entered the wrong passcode too many times, changed your passcode during an upgrade to i0s 14, or even just forgotten your passcode, knowing how to unlock a disabled phone is an essential iPhone skill. So, if you’ve accidentally lost your passcode, or been locked out of your iPhone, what can you do about it? Find out how to unlock a disabled iPhone in this Canstar Blue guide.
Unlock disabled iPhone
If you’ve accidently disabled your iPhone, there are three options to getting it back up and running. The three options include:
- You can restore your iPhone to factory setting using iTunes. Syncing with iTunes creates an automatic back up, which you can then use after you have restored your iPhone. This method saves all of your data.
- You can use recovery mode to wipe all the data from your phone. You can then choose to install a back up if you have one, or just begin again with your wiped phone.
- You can erase your iPhone remotely, wiping all the data and restoring it to factory settings. You can then restore your iPhone with a backup, if you have one.
Restore your iPhone with iTunes

If you’ve lost your passcode, the best thing to do is restore your iPhone using iTunes. If you’ve synced your phone with iTunes before, you can ‘restore’ your iPhone in order to erase your passcode, leaving your phone the same as it was before.
To restore your iPhone using iTunes, follow these steps:
- Step One: Connect your iPhone to your computer.
- Step Two: Sync with iTunes to automatically create a backup.
- Step Three: Select ‘Restore iPhone’. This will appear as an iPhone symbol in the top left of the iTunes window.
- Step Four: Choose which backup you would like to use. This will most likely be your most recent backup.
Restoring your iPhone to iTunes will erase your phone and replace its contents with your chosen backup. All the data in your iPhone will remain the same, but you won’t need a passcode to log into your iPhone. You can now create a new passcode for your iPhone. Remember to make this passcode easier to remember, or at least store a reminder in a safe place.
Best iPhone 15 Plans
Can’t access your old phone? Check out plans and providers for the iPhone 15 in the table below.
The following table compares a selection of 24-month 128GB iPhone 15 plans as published on Canstar Blue’s database, listed in order of their standard monthly cost, from the lowest to highest and then by data allowance, largest to smallest. Use our phone plan comparison tool to compare plans from a range of providers. This is a selection of products with links to a referral partner.
The following table compares a selection of 24-month 128GB iPhone 15 Plus plans as published on Canstar Blue’s database, listed in order of their standard monthly cost, from the lowest to highest and then by data allowance, largest to smallest. Use our phone plan comparison tool to compare plans from a range of providers. This is a selection of products with links to a referral partner.
The following table compares a selection of 24-month 128GB iPhone 15 Pro plans as published on Canstar Blue’s database, listed in order of their standard monthly cost, from the lowest to highest and then by data allowance, largest to smallest. Use our phone plan comparison tool to compare plans from a range of providers. This is a selection of products with links to a referral partner.
The following table compares a selection of 24-month 256GB iPhone 15 Pro Max plans as published on Canstar Blue’s database, listed in order of their standard monthly cost, from the lowest to highest and then by data allowance, largest to smallest. Use our phone plan comparison tool to compare plans from a range of providers. This is a selection of products with links to a referral partner.
Use Recovery Mode
If you’ve never synced your iPhone with iTunes on your computer, or if you don’t have access to your main computer, you can use Recovery Mode to restore your iPhone without a third-party application. Be warned – this will erase all your phone’s contents as well as its passcode – so only use this if you’ve got a backup of your iPhones data in another location, or if you are happy to start all over with a clean phone.
First, find yourself a computer with iTunes installed and connect your iPhone. To enter Recovery Mode, restart your phone. As it’s restarting, you’ll need to hold a few buttons down. These buttons will be different, depending on your iPhone model:
- iPhone 8 or newer: Tap the Volume Up and then Volume Down keys, then hold the Side button until you see the Recovery screen
- iPhone 7: Hold down the Side and Volume Down buttons at the same time until you see the Recovery screen
- iPhone 6s and earlier: Hold down the Home and Lock (Top or Side) buttons at the same time until you see the Recovery screen
Once you’ve entered Recovery Mode, iTunes will prompt you to restore your phone. Restoring your iPhone will re-download a factory version of iOS to your phone. After it’s finished installing, you’ll be able to use your phone as usual and set up a new passcode.
Restoring your iPhone using Find My iPhone

If you have disabled your iPhone, you can erase your device with the Find My iPhone web page, and then restore a backup.
To erase your device remotely using Find My iPhone, follow these steps:
- Step One: Open Find My iPhone on the iCloud.com webpage.
- Step Two: Log in using your Apple ID and password.
- Step Three: Select All Devices, and then select the device you want to erase. If you can’t see an option for All Devices, it means a device has already been selected.
- Step Four: Select Erase. A confirmation email will be sent to the email address linked to your Apple ID.
Things to keep in mind after erasing a device with Find My iPhone:
- An Activation Lock will remain on your device. This is security measure is automatically enabled when you turn on Find My iPhone. You will require your Apple ID and Password to unlock the Activation Lock and reactivate your device.
- After you erase your device, you won’t be able to use Find My iPhone to locate or play a sound on a lost device.
- Any payment processes, identification cards or transport cards are removed from your phone after you erase it. This includes: Apple Pay, student ID cards, credit and debit cards and Express Transit cards will be removed.
- If your device was enabled for two-factor authentication, it will no longer work once it has been removed from the list of trusted devices.
Read more: How to restore an iPhone backup
How to disable the Passcode feature on iPhone
If you have developed a habit of constantly locking yourself out of your iPhone, you may want to think about disabling the passcode feature. The only way to do this is to eliminate the need for a passcode, by turning off passcode in settings. It’s not a great security strategy, as it allows anyone to log into your iPhone, but can be helpful if you have a spare phone, an offline phone you use for other purposes, or if your phone is being used communally, like for music at a party.
To turn off the Passcode requirements, follow these steps:
- Step One: Open Settings.
- Step Two: Scroll down Settings until you come to Touch ID & Password.
- Step Three: Enter your passcode.
- Step Four: Select Turn Passcode Off. A warning box will appear, select Turn Off. Your passcode has now been removed.
Once passcode has been turned off, three features in your phone will change:
- Apple Pay will no longer store your cards
- You won’t be able to use your deactivated passcode to reset your Apple ID
- Your Touch ID and Face ID will no longer work
What happens when I enter the wrong passcode in my iPhone?
When you enter the wrong passcode into your iPhone, you’ll be given the option to retry your passcode. If you enter the wrong passcode six times, your phone will be disabled for a minute, meaning you won’t be able to log in or use the phone. After the minute has passed, you will be able to enter your passcode. If you manage to incorrectly enter your passcode several times after being locked out for a minute, the iPhone will disable and you will be prompted to connect it to iTunes, where you’ll need a computer with iTunes to restore it.

Original Author: Sam Bloom

Share this article